Your inability to connect your iPhone to Wi-Fi may disrupt work, entertainment, or communication. This common issue may happen due to multiple hidden and small reasons, like software errors or incorrect settings. Despite this, you can effortlessly address and fix this issue by following some quick solutions. So, this article explains possible causes and easy fixes, including a dedicated iOS system repair tool to keep your iPhone connected smoothly.
Part 1. Why My iPhone Is Not Connecting to Wi-Fi
It is necessary to know the reasons why your iPhone does not connect to Wi-Fi before resolving the issue:
- Your iPhone might not connect reliably or have trouble connecting in general when the signal is either weak or unstable.
- Even the availability of a network nearby may not help you connect your iPhone when you type an incorrect password.
- In some cases, your router or modem is problematic, which ultimately needs a quick restart.
- Wrong network configurations can also block the connection and stop Wi-Fi from working normally as expected.
- An old iOS version may cause connectivity bugs, similar to confusion when asking, “what does update requested mean.”
Part 2. How to Fix iPhone Not Connecting to Wi-Fi – Dr.Fone – System Repair (iOS)
Dr.Fone – System Repair (iOS) stands out as the best and reliable choice to resolve any iPhone-related problem. The program enables you to connect your phone to the PC running Dr.Fone and resolve the Wi-Fi not connecting issue effortlessly. Apart from that problem, it is designed to solve everyday iOS problems while ensuring that no personal data disappears.
This iOS system repair software can resolve endless boot loops and restore iPhone stability after software malfunctions. It also works perfectly with the newest iOS versions, including iOS 18 and iOS 26 releases. You can even use this dedicated tool to downgrade your iPhone system securely to your desired and compatible version.
Key Features
- Exit DFU Mode: Dr.Fone safely exits DFU Mode without damaging system files or risking important stored user data.
- Advanced Repair: This mode solves more serious system issues and does not need the iTunes application.
- Repair iTunes Errors: It fixes over 200 iTunes errors that could prevent syncing, restoring, or connecting your Apple devices.
Guide to Fix iPhone Not Connecting to Wi-Fi – Dr.Fone – System Repair (iOS)
Follow the steps to learn how to use Dr.Fone – System Repair (iOS) to resolve the iPhone not connecting to Wi-Fi problem:
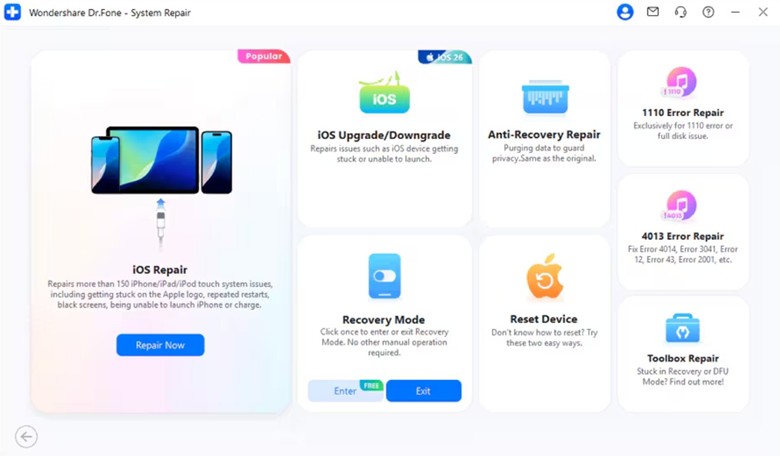
Step 1. Choose System Repair to Fix Wi-Fi Not Connecting
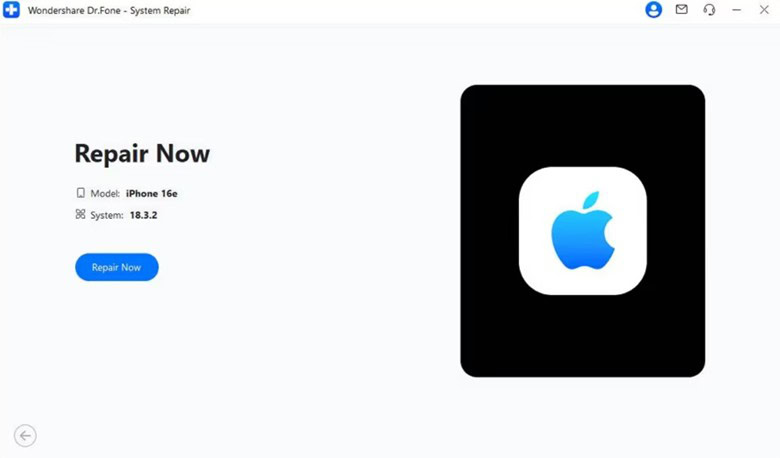
Once you access the “System Repair” tool, choose “iPhone” and opt for the “iOS Repair” feature by clicking the “Repair Now” button.
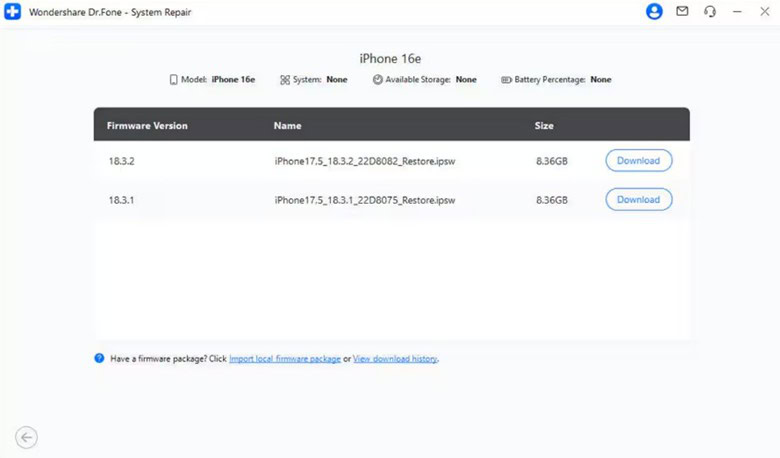
Step 2. Enter iPhone into Recovery Mode to Repair it
Next, choose “Standard Repair” to put your iPhone into Recovery Mode after connecting it to the PC/Mac. Here, hit the “Enter Recovery Mode” button and choose the iOS version by pressing the “Download” button.
Step 3. Starting Resolving the iPhone Not Connecting Issue
After a while, hit the “Repair Now” button and let Dr.Fone – System Repair (iOS) fix the iPhone not connecting to Wi-Fi issue.
Part 3. Restart Your Phone to Fix iPhone Not Connecting to Wi-Fi
In addition to an iOS system repair tool, you can also restart your phone to reboot the system processes and restore a normal Wi-Fi connection. So, take guidance to find out how you can restart your iPhone:
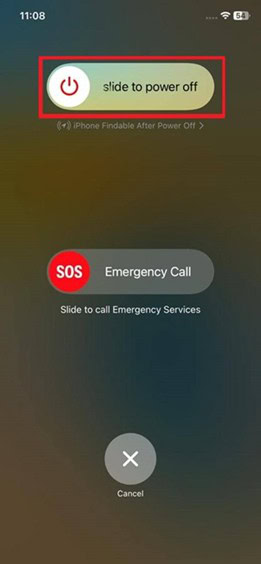
Instructions. Press both the “Power” and the “Volume Up” buttons simultaneously and then drag the “Slide to Power Off” slider from left to right. After some seconds, switch on your phone to successfully reboot it.
Part 4. Reset Network Settings to Resolve iPhone Not Connecting to Wi-Fi
This procedure will delete Wi-Fi networks, VPNs, and other connections that have been saved, and your iPhone will begin cleanly. Thus, use the instructions to restart the phone’s network settings and fix the issue:
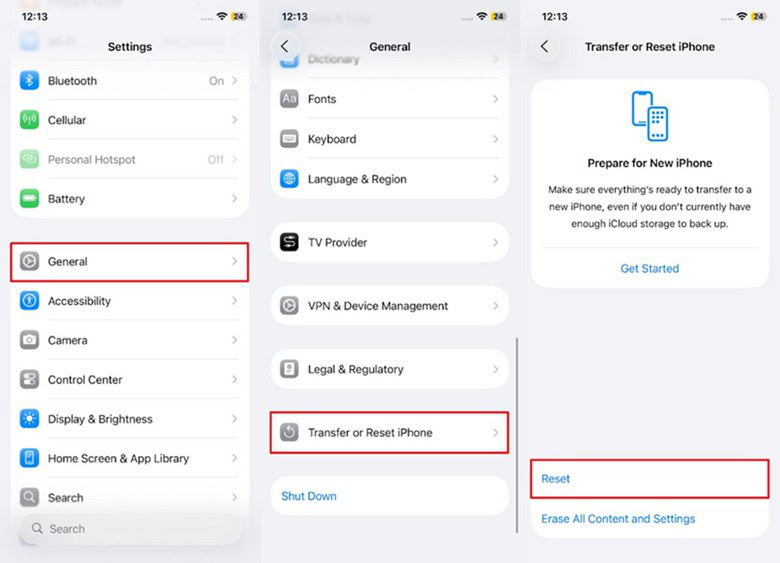
Step 1. To begin, select the “General” option from settings, where you will be given the option of “Transfer or Reset iPhone” and tap “Reset.”
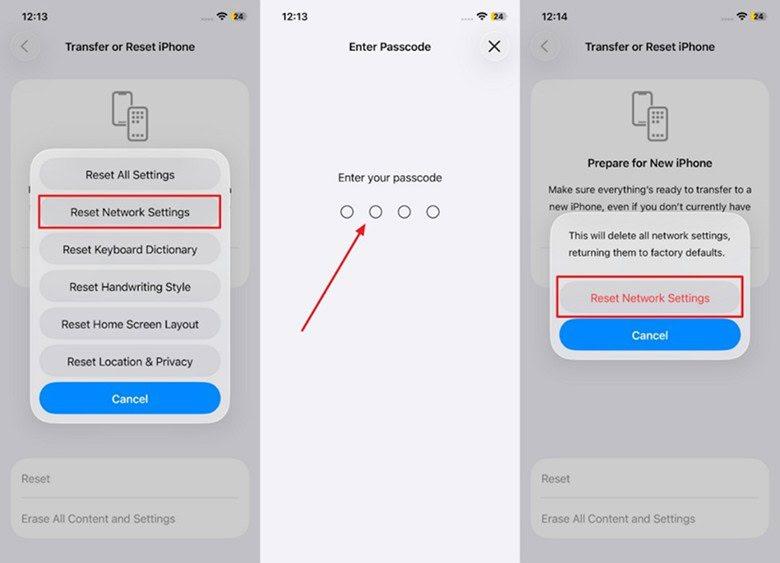
Step 2. Then, choose the “Reset Network Settings” option, type in your device passcode, and tap on the “Reset Network Settings” once more.
Part 5. Tips to Avoid Problems Connecting Your iPhone to Wi-Fi
In addition to solutions, you can prevent future iPhone Wi-Fi issues by observing a few simple tips and enjoy internet connectivity:
- Always keep your iOS up to date so that bugs are fixed and security is enhanced to maintain a good connection.
- Restarting your router can reset this connection so that the connection does not drop suddenly.
- Too many devices connected to the same network can slow speeds, causing your iPhone to lose stable connectivity.
- Beyond, if you wonder “what does it mean when it says update requested,” it usually indicates a pending software installation.
Conclusion
In conclusion, the Wi-Fi in the iPhone can easily be fixed through the appropriate measures and avoidance practices. The issue may be caused by network or software issues, yet the prompt response ensures that your phone functions properly. For complicated problems, a more comprehensive solution is provided by an iOS system repair tool, such as Dr.Fone – System Repair (iOS).


