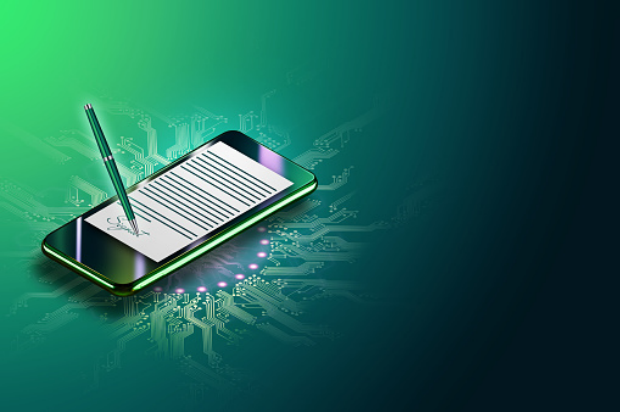
There are several reasons why you may opt for using an electronic signature rather than a wet one. Maybe your printer ran out of ink, or you don’t own a printer at all, or maybe you want to actively reduce your paper waste. Whatever your reason, there are thankfully digital alternatives right at your fingertips.
How to Sign on Preview
Preview is the macOS app that is pre-installed on every Apple Macbook and computer. It is normally the go-to PDF and image viewer, but there is a feature that you may not be aware of – the signature function. So, here’s how to sign a document electronically using MacOS Preview:
- Open your document that needs to be signed in the Preview app
- Open the Markup Toolbar by clicking on the marker symbol on the top right of the window
- Halfway across, you should see a Sign option, that looks like a signature
- You will be given the option to either sign your name on your trackpad or to open your camera to take a photo of your written signature
- You can add multiple signatures, either for multiple people or for instance if you want your initials as well as a full signature
- After you have created your signature(s) you select the same symbol again and select the one you want to use
- It will appear in the middle of the page, then you can move and resize it as required
The fact that it is right there on your computer makes this an extremely convenient option for signing your documents. However, it does come with its downsides. The signature via trackpad is difficult to handle and write on and is perhaps more suitable for if you have a scribble-like signature rather than if you use your full name.
How to Sign on Smallpdf
Smallpdf is an online tool that helps with all of your PDF wants and needs and is available completely free of charge. They offer 20 tools that do everything from compression, conversions, and password protection. And of course, they also have a digital signature tool. Their tools are extremely straightforward and easy to use, but just in case, below is a step-by-step guide to help you sign your documents with Smallpdf.
- Open the Smallpdf eSign tool
- Select the PDF document that needs signing
- Create your signature via the buttons on the right of the toolpage. There are separate options for initials and signatures
- You can draw with mouse/trackpad, type, or upload a photo of your signature
- They will appear on the right side, where you can drag them from to anywhere on the document
- You can also tick checkboxes and add date fields
- Choose the tick from the sidebar and drag it to the required box
- Date field can be found in the same place, and you can also choose which format to use, whether that be Day-Month or Month-Day
- Click ‘Finish and Sign’ and then save the document locally or on a file hosting service, including Dropbox and Google Drive
There are also additional features available to those with a Pro Account:
- Once you create your signature it will be saved to your account, so in future, you can simply open the document in the eSign tool and drag and drop your already-created signature into place
- You can invite additional signers, by just supplying their first and last name, along with their email address. If there are multiple people you require to sign the document you can add additional people one at a time, or upload a list from CSV
- You will then be able to track the status of the documents you have sent for signing, as well as any documents that you have been sent to sign
A Pro Account is available for $9 a month, but there are also Team and Business accounts for multiple users which comes out a bit cheaper. Additionally, at the time of writing, you can get a free trial for the Pro and Team accounts for 7 days.
You can also sign your PDFs when you’re on the move (with or without a Pro account):
- Download and open the free Smallpdf mobile app
- Select the file from your Smallpdf folder, your device, or take a photo of a new document
- Select eSign, and go to ‘My signatures’ to create or select your signature
- Draw your signature directly on your screen, and ‘create’ your signature
- Tap anywhere on the document to place the signature, which you can also resize
- Hit ‘Finish’, and it will be saved to your private folder on the Smallpdf app.
Final Thoughts

Preview is a great option for signing documents if you have a simple signature. It is available in the document reader that you are likely using to open your files anyway, which saves a lot of time and energy, and also allows you to sign documents when not connected to the internet.
However, if you want to get a bit more out of your eSigning tool, Smallpdf is the place to go. The platform allows you to request signatures from other people, who will create their own signature via the same method, and you can track the status of the sign requests that you have sent and received. You are also able to save your signatures so that they are there and ready for you to use for each document that you are required to sign. Additionally, there is a Smallpdf mobile app, which when linked to your account, will also save your previously created signature. The app is great because it means that you can eSign documents from anywhere, whether you’re on the train to or from work, or if you simply feel like working from your mobile device.
They are both available completely free of charge, so it is definitely worth checking them out to see which approach works better for you. Smallpdf is also worth looking into in general if you regularly work with PDFs, as you are bound to find at least one useful tool on their page. Whatever your preferred method of eSigning is, hopefully, these how-to tutorials were beneficial to you and helped you find a long-term, and affordable, eSigning solution.


